Videos can bring back memories of fantastic ski vacations, but often the pictures don't live up to your expectations. TRAVELZONE asked video expert Darian Leicher from the ski travel magazine SKI KANADA(www.ski-kanada.ch) for a few tips for successful shots.
Darian, action cams and smartphones are no longer an unusual sight on the mountain. However, some winter sports enthusiasts seem to focus more on filming than on skiing...

Heliskiing in the Champage powder is undoubtedly an **once-in-a-lifetime** adventure. Although **once-in-a-lifetime** is not quite right. Anyone who has experienced it once will want to do it again and again. There is an acute risk of addiction!
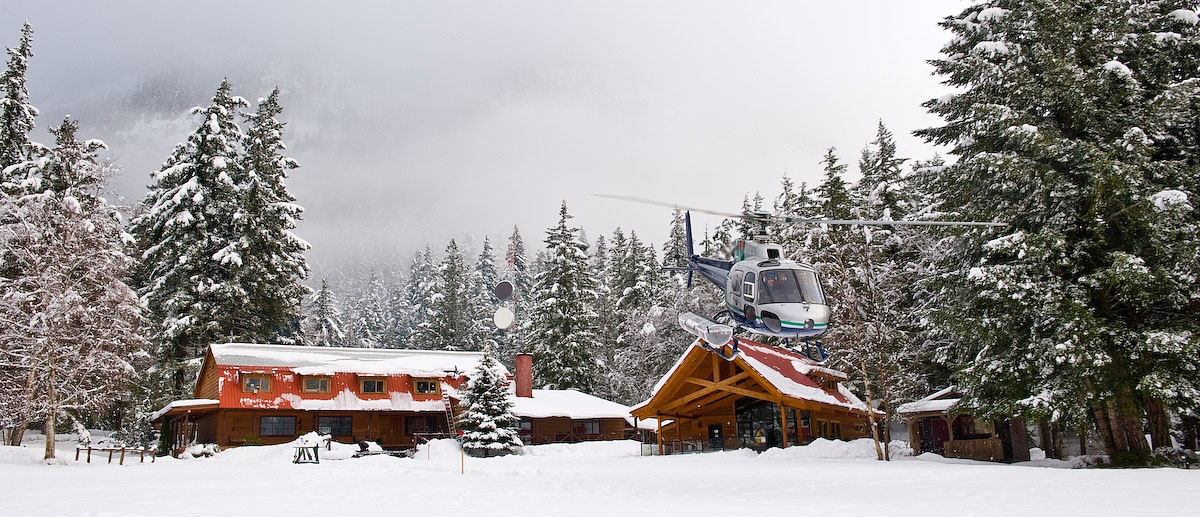
Darian: It's better to think about what you actually want to film beforehand. If you invest a bit of time, you can even come up with a little "script". The story might start with the journey there, the evening before or the lift ride. If you're heli-skiing, you should definitely record the helis before the lodge or at the start. And then you should stick to your plan. After all, a huge amount of material takes a lot of time to review later. Besides, it's easy to get frustrated when editing.
What is the next step once I have a plan?
Familiarize yourself with the equipment and the setting options at home. This is much more difficult if you start fiddling with buttons and screws in the snow with cold fingers. It also wastes valuable time. For shots of mountain scenery, I recommend a wide angle and high image quality (such as full HD at 1080p). If you want to film action scenes, many frames per second (fps) allow for smooth videos. At 100 or 120 fps, even slow motion still looks great.
What options are there for attaching the camera?
The classic option is the action cam on the helmet. The attachment is glued directly to the surface of the helmet or stretched over it with a strap. Straps are also available for the chest so that the camera can be attached to the body. However, this method is now prohibited by most heliskiing companies, as the frequencies of the webcam interfere with those of the avalanche transceiver. Clamping devices for ski poles are also quite popular. However, most skiers and snowboarders use special telescopic poles because they are adjustable and easy to carry. And if you no longer want to worry about shaky footage, you should take a look at a gimbal. Thanks to this suspension with its three axes, the images remain wonderfully steady even during rapid descents.
That brings us to filming. Are there a few basic rules?
If you want to record other skiers and snowboarders, you should get close enough. Otherwise, the extreme wide angle of the action cams makes them look too far away. You practically have to stick to your partner - of course only close enough so that you don't put yourself in danger. If you don't have a gimbal to hand, you can use a simple trick to distract from shaky shots. A fixed object in the frame, such as part of the ski pole or helmet, acts as a steadying pole.
But good videos shouldn't just consist of ski or snowboard sequences, should they?
Quite the opposite, because a simple sequence of even the most spectacular descents loses its appeal in the long run. So include a few panoramic shots as well as detail shots and shots of other people. Unusual perspectives also add a bit of fun to the videos. For example, you can attach the cameras to skis or snowboards using adhesive devices. Fortunately, the shock- and waterproof action cams can be used for almost any kind of fun.
Speaking of fun - professionals and amateur filmmakers seem to be having more and more fun with drones.


The images from a bird's eye view are incredible, at least if you have your device under control. Drones are not generally prohibited in most ski resorts. However, the operators are allowed to prohibit flying them - and usually do. However, if you are planning to take photos with a drone, you need to consult with the ski resort managers in advance. The safety issue is of course even more important when heliskiing. Guides and pilots must give the green light. If at all, drone shots are only possible for private or semi-private heliskiing. There are fewer helicopters in the areas. Ideally, just one. And if you discuss what is possible with the guides, you may have the chance to film with the drone. You can also obtain information from the TRAVELZONE experts in advance. They know every provider from their own experience and are very good at assessing where and when drone shots are possible when heliskiing.
What do I do once I have my footage in the can?
Then it's usually time for post-production. However, amateur filmmakers will not (be able to) spend too much time on this. If you only shoot short sequences anyway, you don't need to do any time-consuming editing afterwards. For all those who still want to try their hand at time-consuming post-production, one thing applies above all: keep calm! Some things only look good on the third or fourth attempt. Even professionals spend more time editing than filming. But there is also an alternative that is easier on the nerves. Chopshop(https://chopshop.co/cmh), for example, which works together with CMH, cuts all your video material together for marginal costs.
A good piece of advice at the end?
Don't just concentrate on your video project, but enjoy your time in the mountains. However, safety should always come first. After all, what good is the best shot if you can't get home safely to show your friends?
[embed]https://youtu.be/yhUhoLoX7oc[/embed]
Strong enough?
Not sure if you're strong enough for heliskiing? Get in touch with us. We're also happy to do a video check-up. We have been heliskiing with thousands of skiers and know all the areas. So we can assess with you where you will have the most fun in the powder!


